How to: Calibrating Recommendations Before You Launch
Testing size recommendations before going live!
Using AI for sizing can feel a bit complex at first. We try and make it intuitive.
In most fashion teams, some people already have a pretty clear sense of how their products fit. You know which items run small, which ones are meant to be oversized, and where customers usually hesitate. The tricky part is making sure that this understanding actually shows up in the recommendations.
At Measmerize we designed our onboarding process with this expectation in mind! Before going live, you can (and should) take a moment to check what recommendation you would receive!
Once your size chart is ready, you can run a few quick tests using profiles you already trust—fit models, people internally, or even your own measurements. Nothing complicated here. You’re just looking at the output and asking: does this make sense? If it doesn’t, you can tweak it right away.
It’s not really about “teaching” the AI anything. It’s more about making sure it reflects how you define fit.
This tends to matter more with product measurements, where things are less absolute. One brand’s “slim” can easily be another brand’s “regular”. Taking a few minutes here improves the recommendation accuracy right out of the gate.
To calibrate your size charts before going live follow these simple steps:
How to Calibrate Your Size Recommendations (Step-by-Step)
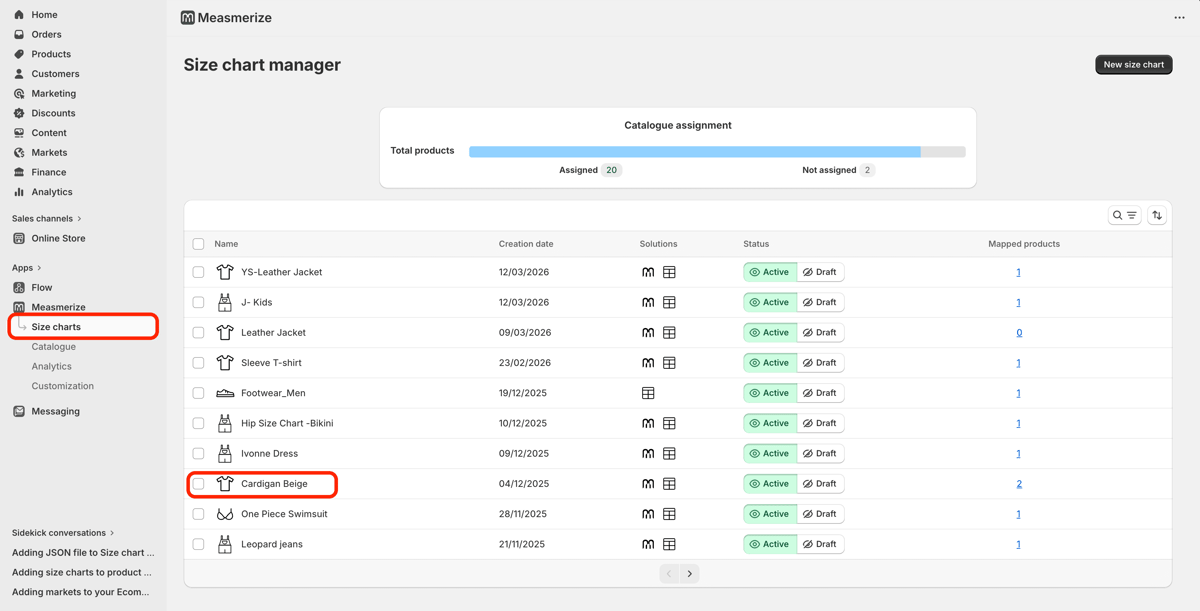
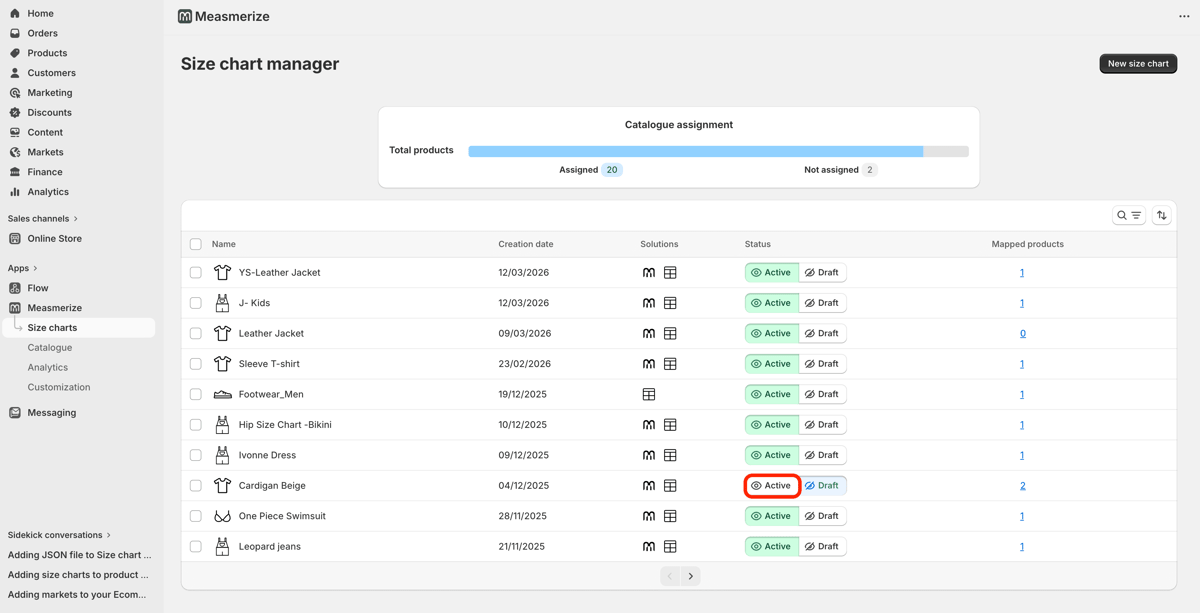
- Step 1: Select your size chart
- Login to your Measmerize Dashboard
- Open the Size Chart manager
- Click on the Size chart you want to calibrate
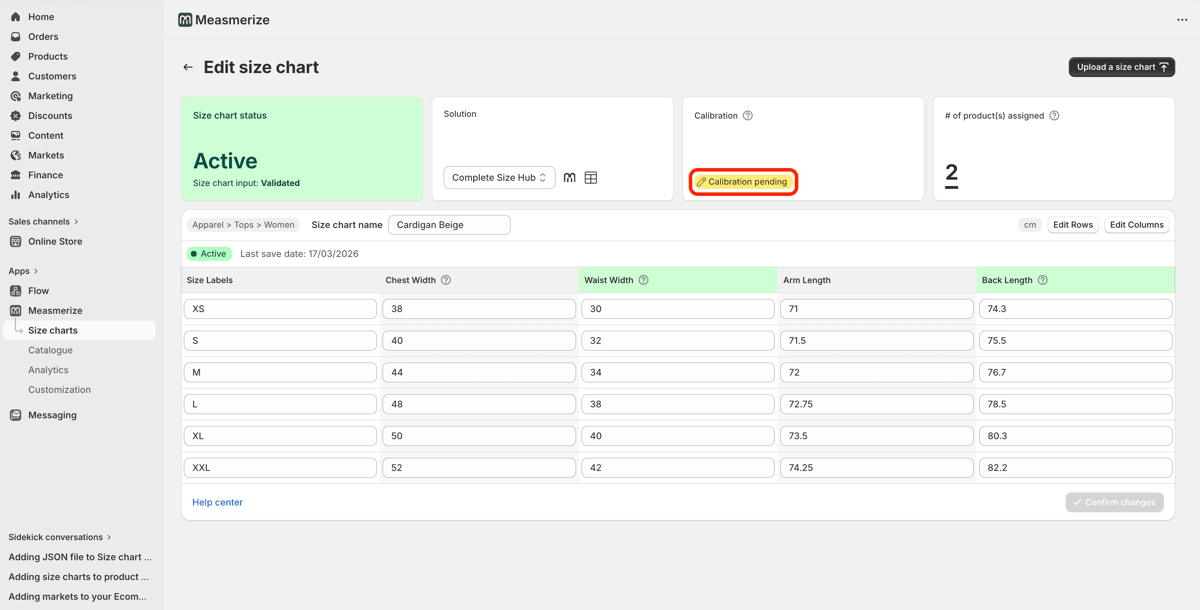
- Step 2 — Access the calibration view
- In the size chart edit view, click Calibration pending
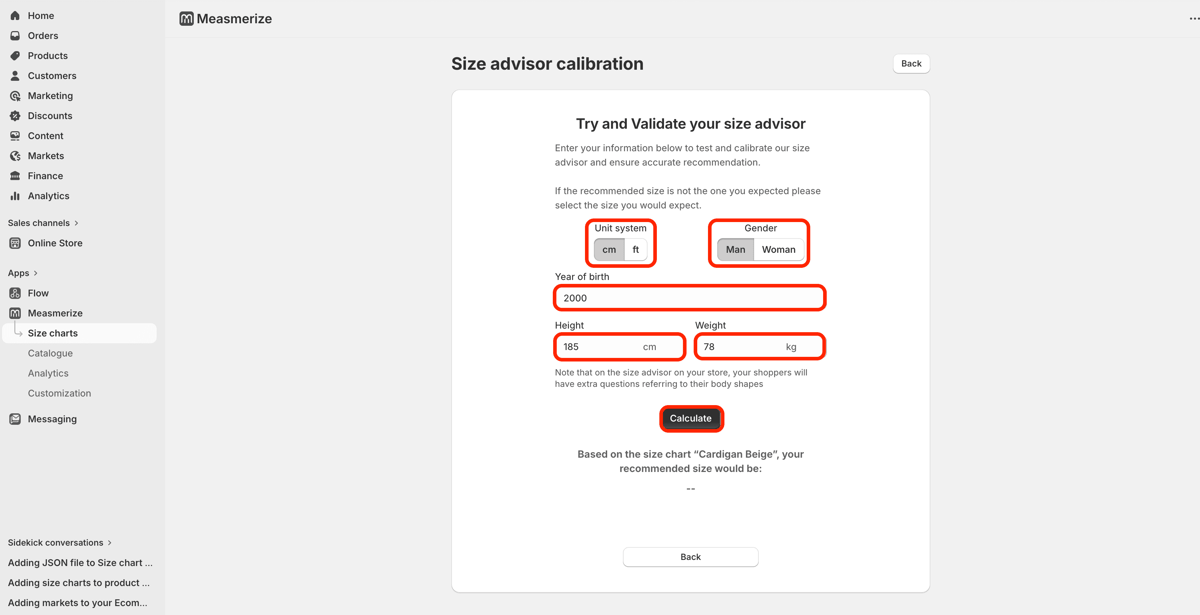
- Step 3 — Add a profile you know
- Choose the Unit system you want to use
- Confirm the test user Gender
- Enter details of the test user:
- Year of Birth
- Height
- Weight
- Click Calculate
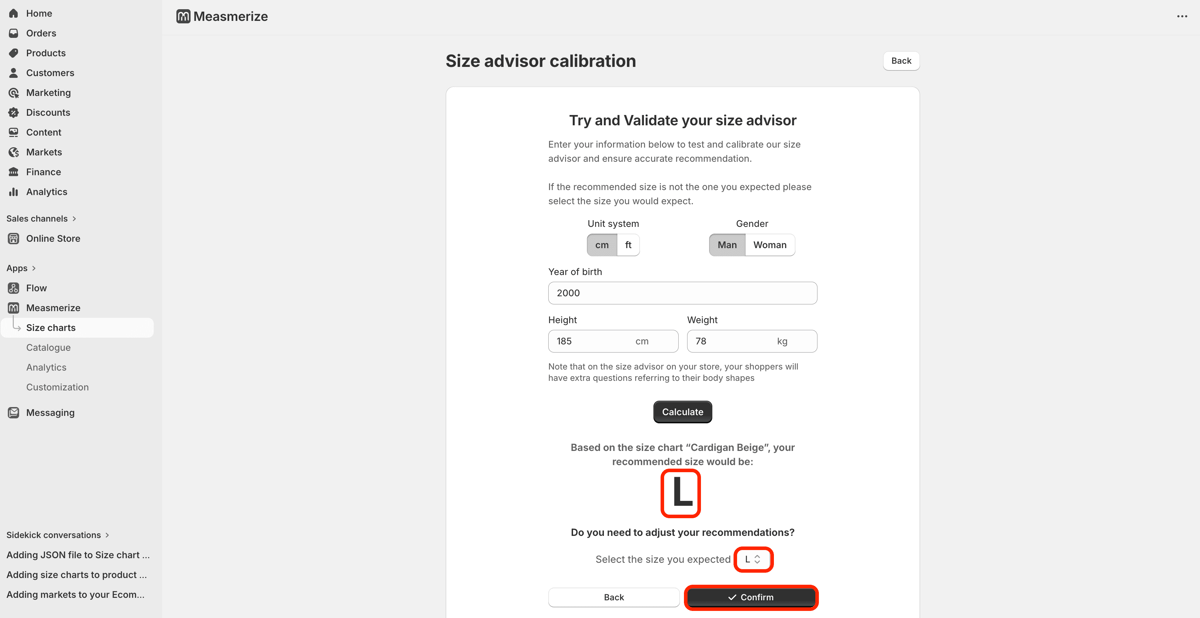
- Step 4 — Check the result and adjust
- Check the size that comes out
- if this is what you expected click Confirm
- if you feel the recommendation need adjustment, simply select the expected size in the drop down and click Confirm
- Check the size that comes out
- Step 5 — Activate the size chart
Once everything looks right, you can validate and go live.
- Go back to your Size Chart manager
- click activate
That’s it, now all the recommendation for the products linked to this size chart will reflect both your data and how you think about fit.
Try it for yourself
If you’re working on your size charts, the easiest way to get comfortable with calibration is to try it on a real product. The Measmerize app lets you run these checks directly, using your own size charts and a few reference profiles you already know.
It doesn’t take long, and it quickly gives you a feel for how the recommendations behave before going live.
→ You can explore it directly in the Measmerize Shopify app